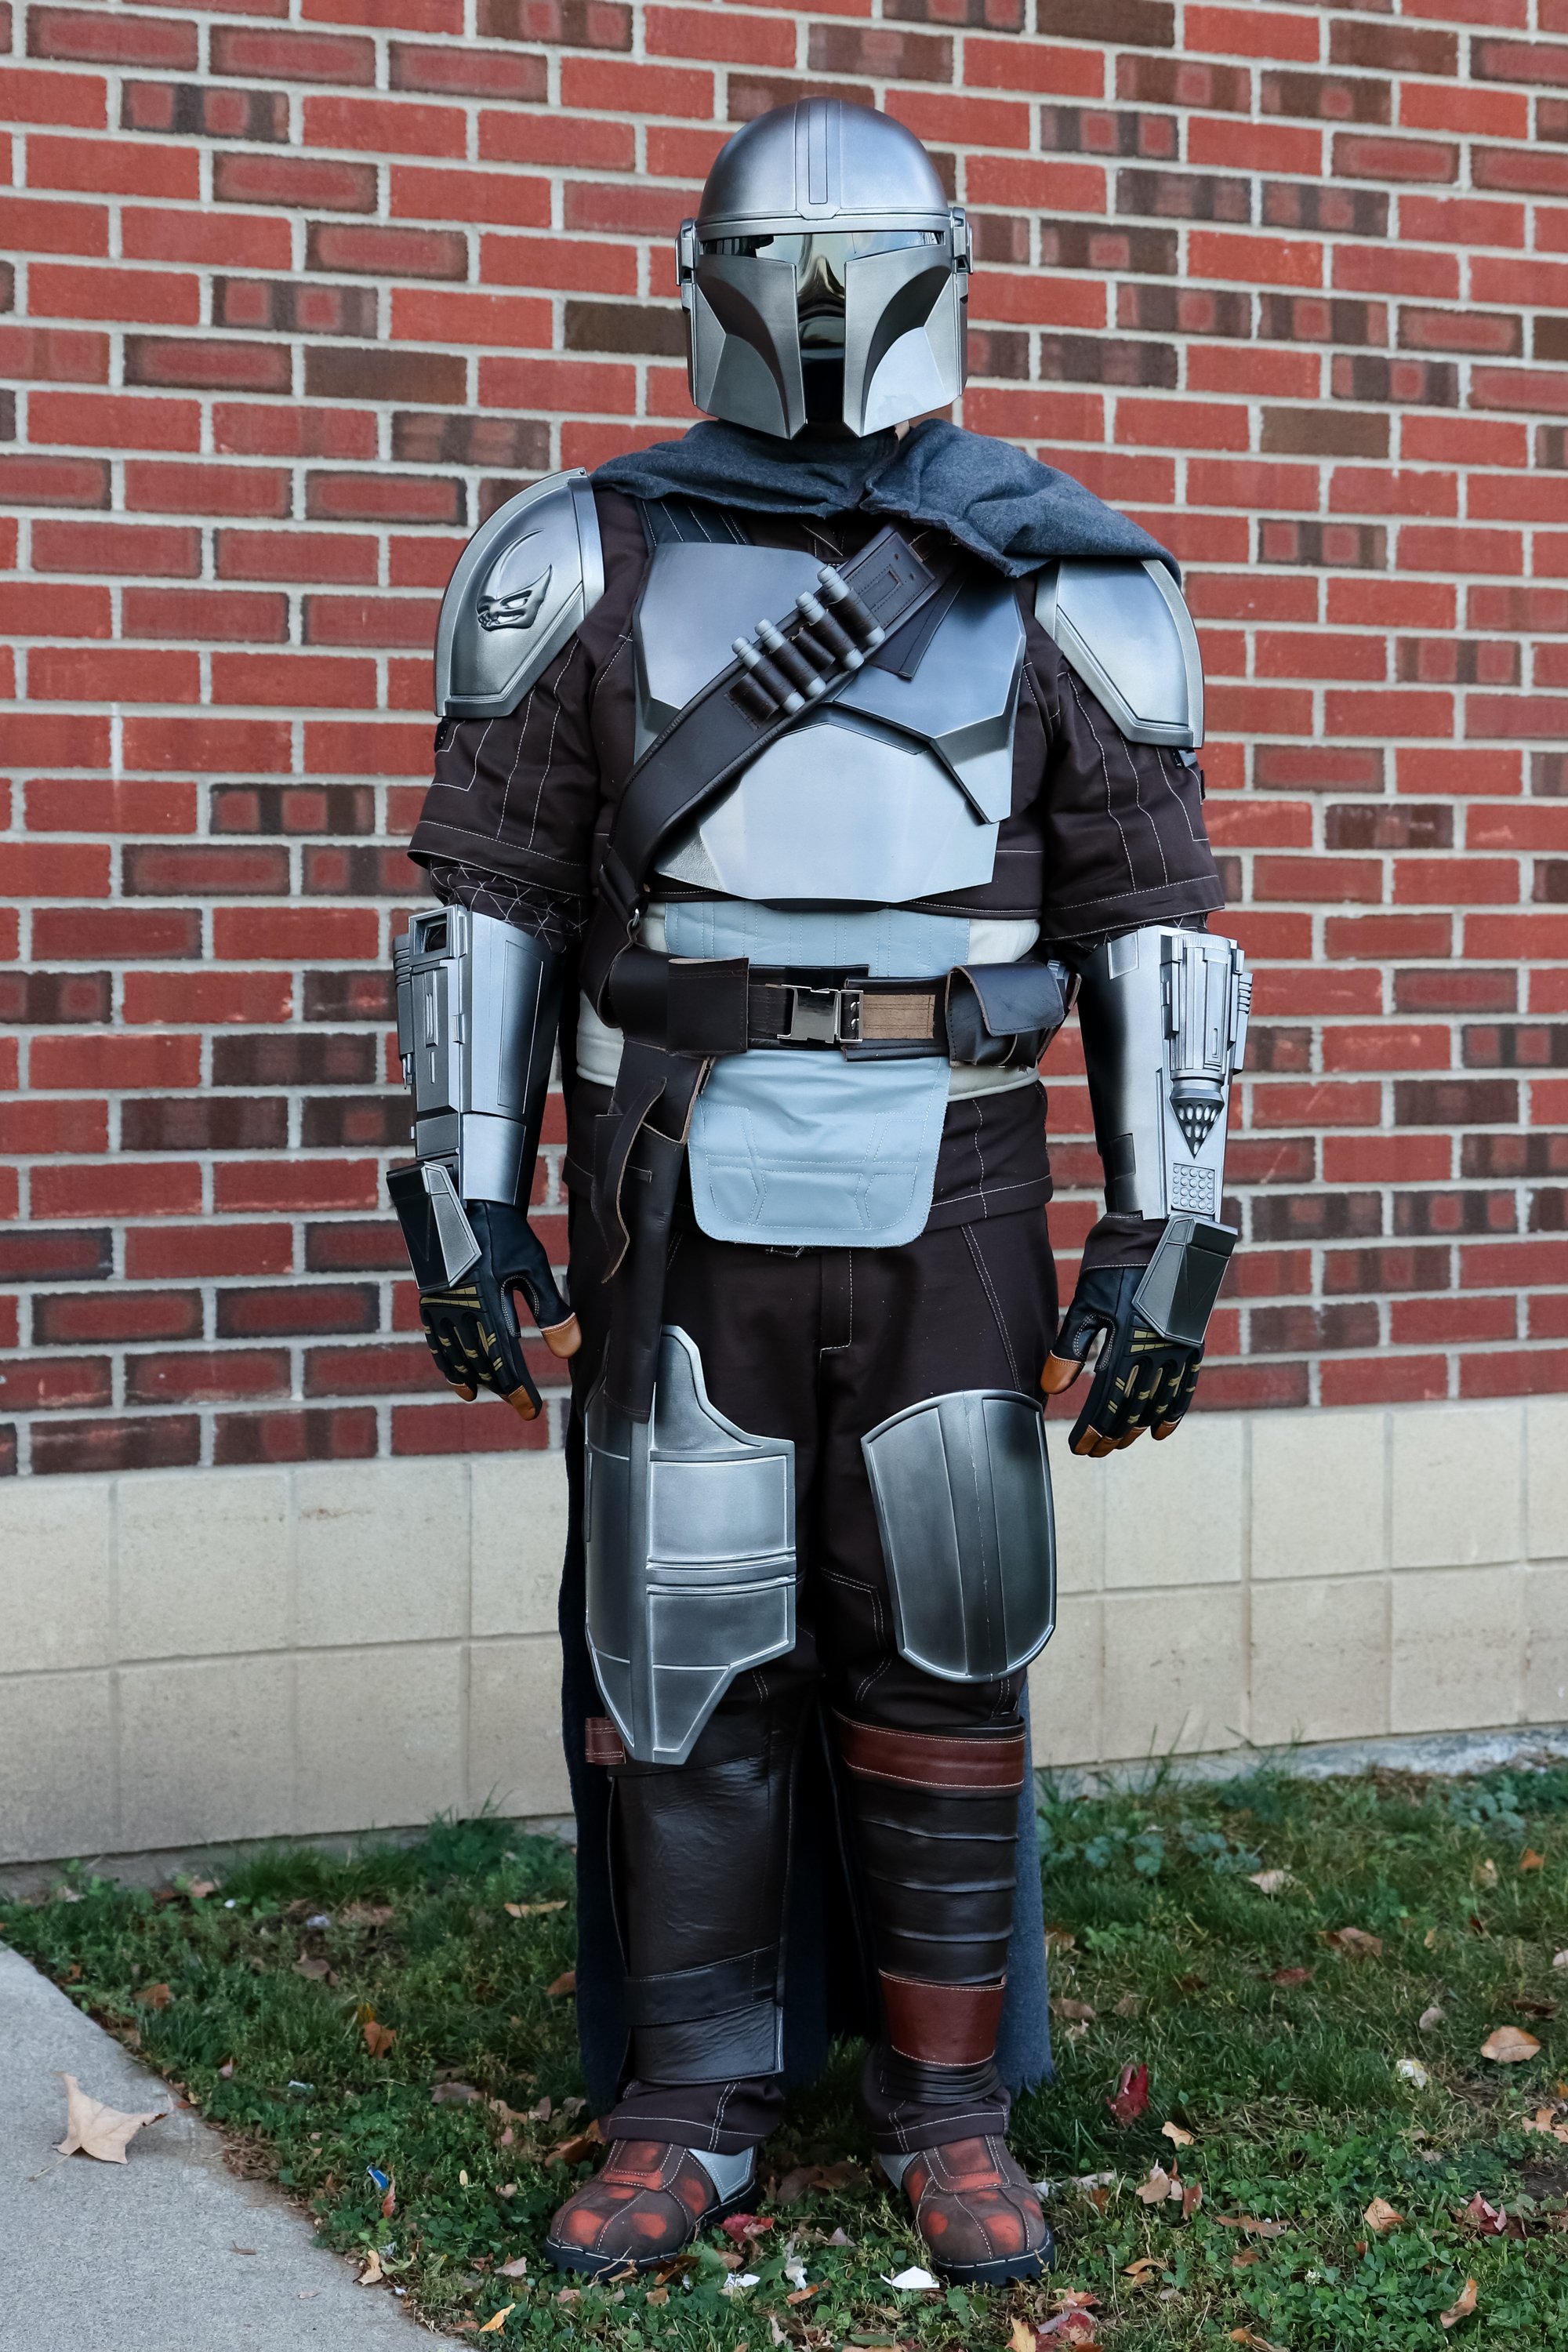
Completed my Mandalorian costume just in time for Halloween.
3DPrinting is a place where makers of all skill levels and walks of life can learn about and discuss 3D printing and development of 3D printed parts and devices.
The r/functionalprint community is now located at: !functionalprint@kbin.social or !functionalprint@fedia.io
There are CAD communities available at: !cad@lemmy.world or !freecad@lemmy.ml
No bigotry - including racism, sexism, ableism, homophobia, transphobia, or xenophobia. Code of Conduct.
Be respectful, especially when disagreeing. Everyone should feel welcome here.
No porn (NSFW prints are acceptable but must be marked NSFW)
No Ads / Spamming / Guerrilla Marketing
Do not create links to reddit
If you see an issue please flag it
No guns
No injury gore posts
If you need an easy way to host pictures, https://catbox.moe may be an option. Be ethical about what you post and donate if you are able or use this a lot. It is just an individual hosting content, not a company. The image embedding syntax for Lemmy is 
Moderation policy: Light, mostly invisible
Completed my Mandalorian costume just in time for Halloween.
Parts were printed on Bambu X1C with Hatchbox Black PETG and using PLA for support interfaces. Typical 0.2mm layer heights with adaptive layers down to 0.12 to reduce banding on the top of the helmet. Scaled the helmet to the 256mm³ print volume as a single part and it fits my big head with enough room for interior padding. Models are from Galactic Armory.
Some actual print times for reference:
Preparing for painting I used progressively finer grit sandpaper and wet sanding from 140-400 grit, alternating with Rustoleum filler primer. Finished with black primer and 800 grit before applying paint.
For paints I used Montana Gold Shock Black for a base layer, then a layer of Spray Max 2K clear coat, and I tried Montana Chrome Effect over this. It was too silvery, so I switched to a powdered graphite rub, alternating 2-3 layers of graphite rubbed into a semi-soft clear coat layer (after only 15 min of dry time per layer).
Leather parts and base suit purchased from UMBLeather on Etsy. Armor is attached with velcro.
I gotta say, Hatchbox has not done me wrong yet. I've tried other brands, and I always come back to Hatchbox because it just works. Other brands I've tried will clog and string or seem fine then just do weird stuff in the middle of prints.
Great prints and post processing BTW. I'm currently working on a Mando helmet as well. Posted mine a few days ago. It's still in post processing (painting currently) and not going to be done for Halloween unfortunately. Maybe I'll have the helmet done along with some armor for next year.
I also made the pistol from Galactic Armory which is not in the above picture. Assembled from PETG parts and painted using Rubb n Buff metallic paints.
Looks great!!
I got the files and started printing mine but got sidetracked so I did not get it done.
One question though. Did you have to scale the helmet parts any or how was the fit?
Thank you! This was my first large project like this, and there were definitely times when I got sidetracked too.
I scaled the helmet at 98.85% so that it would fit on the bed at 45⁰. The fit works for me with padding that is about 12mm thick. 100% scale probably would have been ideal to provide a little more airflow, but I wanted to avoid glueing and filling seams.